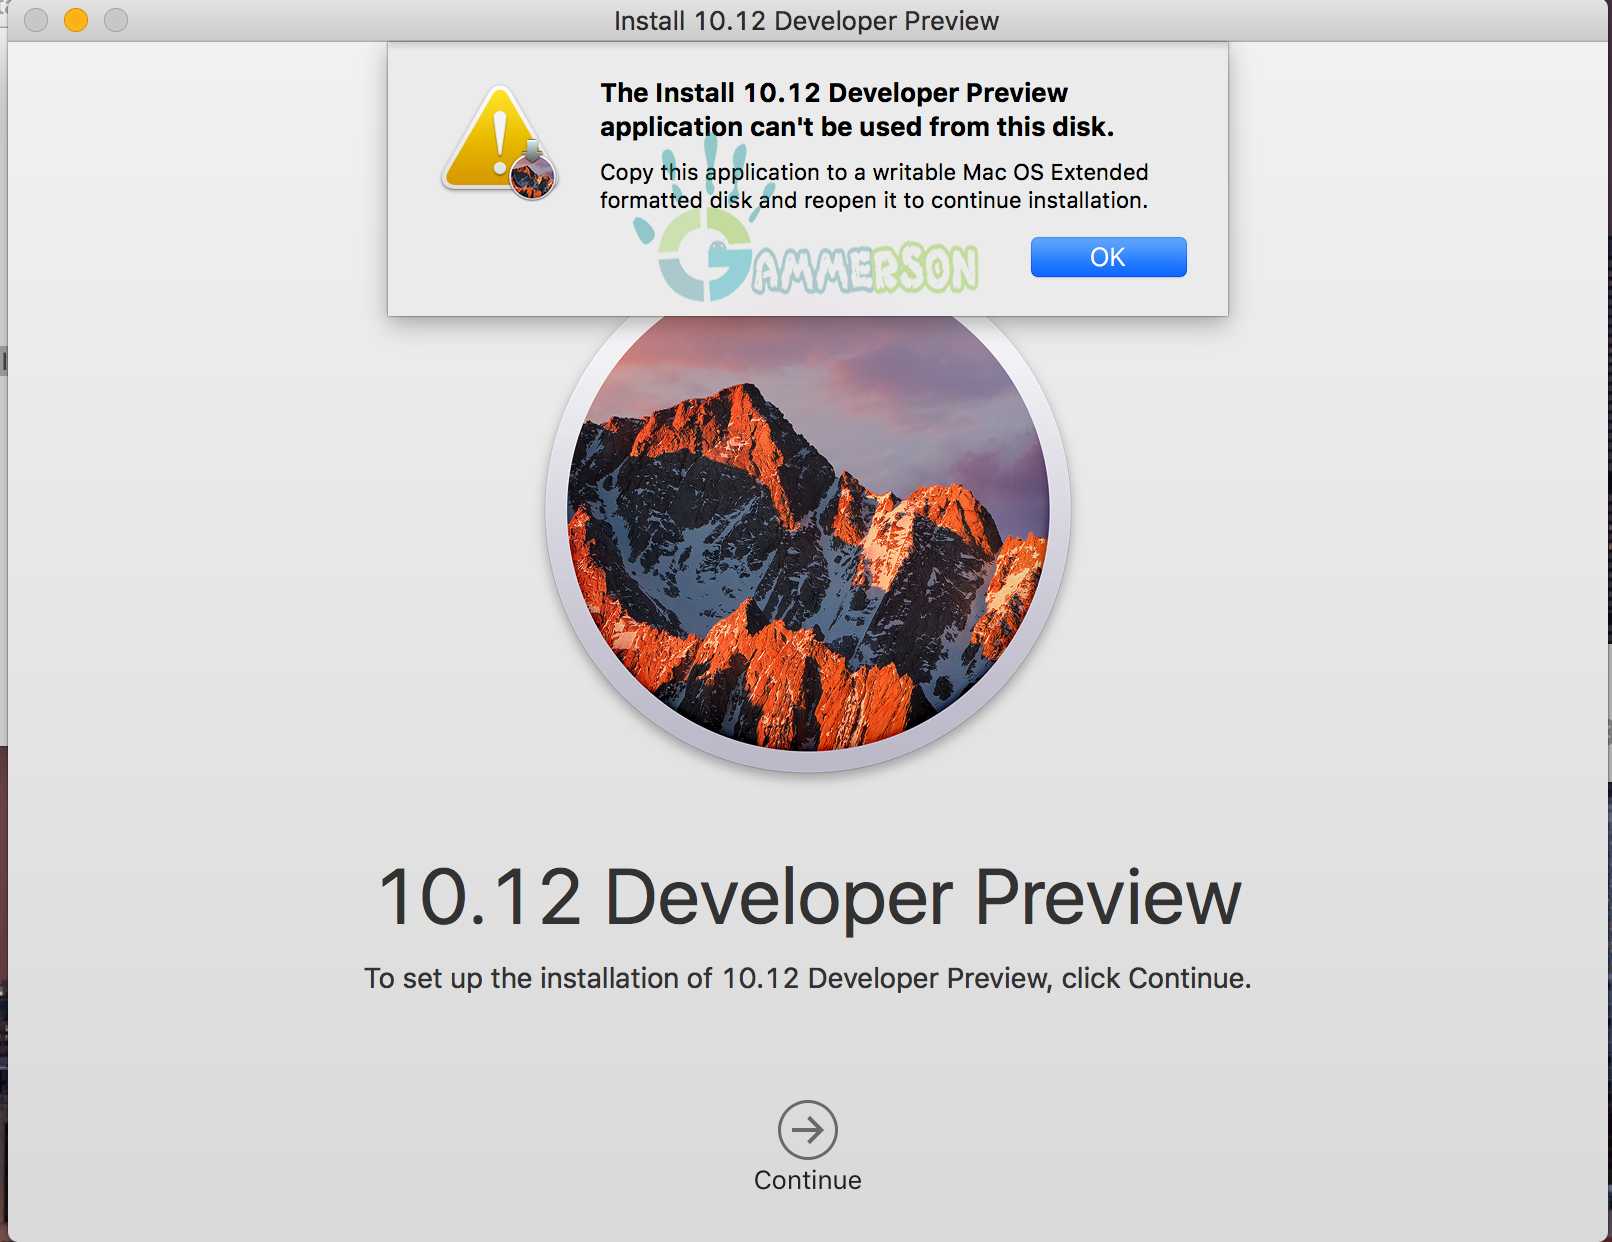
Apple recently released the new macOS Sierra 10.12 Developer preview and if you are trying to install this Sierra 10.12 Developer preview and facing this error that is given below.We will guide you in installing macOS Sierra 10.12 by dual booting without pen drive we are going to do partition on the MacBook pro or air and then install the Sierra os on the new partition.I upgraded my El Capitan to macOS sierra.
The Install 10.12 Developer Preview application can’t be used from this disk.Copy this application to a writable
This means you are doing something wrong while installing Sierra 10.12 dev.dmg.Don’t worry we will help you in solving this error and this is very easy to fix The Install 10.12 Developer Preview application can’t be used from this disk problem.If you already downloaded the MacOs Siera 10.12, then you can follow below steps.If you don’t have the MacOs Siera 10.12.dmg file directly from below link.
#How to fix application can’t be used from this disk
1.Download The macOS Sierra 10.12 from above link if you didn’t do it yet.
2.Now click on Sierra 10.12.dmg to mount the image on your Mac.
3.Once mounted open the mounted drive named with “Install 10.2 Developer Preview.”
4.Now the tricky part comes here if you open the “Install 10.2 Developer Preview” drive and click on an icon to install it.
5.You will get this error “The Install 10.12 Developer Preview application can’t be used from this disk.”
6.So to solve this problem just slide the “Install 10.12 Developer Preview” file to the desktop.

7.Once copied Now run the setup again from the desktop file that you copied.
8.Boom !! the error gone!
#Now follow below steps before installing it.
- Open up Disk Utility (Applications > Utilities > Disk Utility) and select the primary drive. Then choose the Partition option.
- Now you’ll see a large rectangle with the heading Partition Layout. Currently, it will be a single drive, so click the Plus button beneath it and then click on the new partition you created.
- To resize the partition just drag the partition corners.

- Now rename the new partition from any name you want then click Apply.
- Now open the downloaded version of macOS Sierra that is on the desktop and click on it to begin the install (Connect you mac to power source before it)
- When you see the option of which disk you want to install it on be sure to select the new partition that you created earlier in step 4.

- When it’s done click on install and let the process starts automatically, after completing with your Mac will rebooting into Sierra.