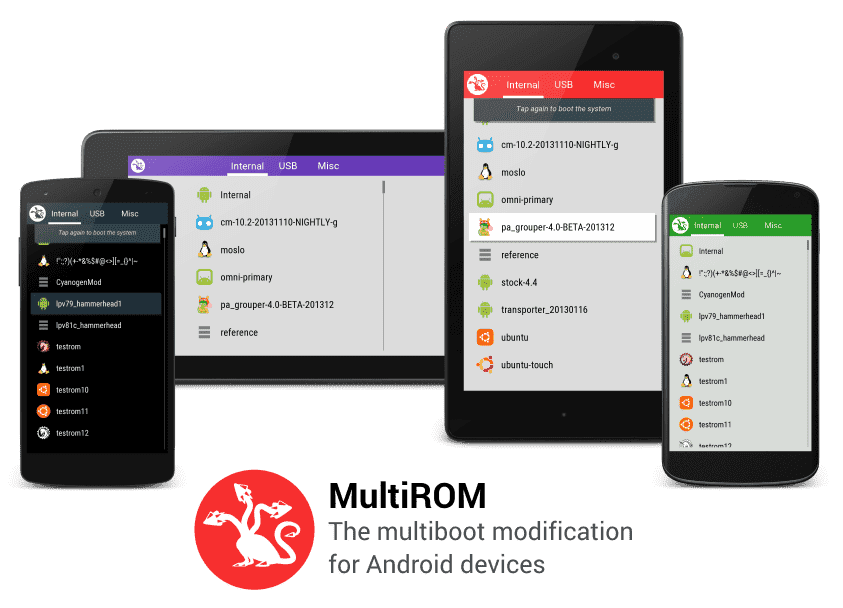
Good news for LeEco LeMax 2 Now you can dual boot your device by using MultiBoot Mod.This means you can install more that one android OS on your device simultaneously.For eg. If you installed lineage os 14.1 rom on your device then you also want to install any other custom rom like CM13 without removing the previous one the you can achieve this installing Multiboot mod for LeEco LeMax 2.
What is MultiRom?
MultiROM is one-of-a-kind multi-boot mod. It can boot any Android Rom as well as other systems like Ubuntu Touch, Plasma Active, Bohdi Linux or WebOS port, once they are ported to our device. Besides booting from device’s internal memory, MultiROM can boot from USB drive connected to the device via OTG cable. The main part of MultiROM is a boot manager, which appears every time your device starts and lets you choose ROM to boot. Roms are installed and managed via the modified TWRP recovery. You can use standard ZIP files to install secondary Android Roms, daily prebuilt image files to install Ubuntu Touch and MultiROM even has its own installer system, which can be used to ship other Linux-based systems.
I am not the developer of MultiRom. All Credits for it goes to Tasssadar, the actual developer of it.

Features:
* MultiBoot any number of Android Roms
* Restore Nandroid Backup as secondary ROM
* Use for example Ubuntu Touch or Desktop alongside with Android, without the need of device formatting
* Boot from USB drive Attached via OTG cable
Disclaimer: It is dangerous. This whole thing is basically one giant hack – none of these systems are made with multibooting in mind. It is possible that something goes wrong and you will have to flash Stock Rom zips again. Make backups. Alway we gammerson.com are not responsible for any thing.
How to install Multiboot on LeEco LeMax 2:
Via The MultiRom Manager App:
This is the easiest way to install everything MultiROM needs… Just follow the Below Instructions:
* Install the app ( download link )
* Select MultiROM and Recovery on the Install/Update card.
* Press “Install” on the Install/Update card to start the installation.
* DONE! MULTIROM IS READY TO ROCK!
UPD: If Internal (primary) rom does not boot after you install multirom
Boot twrp, multirom menu -> inject boot sector, reboot
You current rom WILL NOT be erased by the installation.
Adding ROMs:
Android Boot into MultiRom Recovery -> select MultiRom -> Add Rom -> Select the Rom’s zip file and click Confirm.
Updating/changing ROMs:
1. Primary Rom (Internal)
* Flash Rom’s zip File as Usual, Do factory reset if needed (it won’t erase secondary Roms)
* Go to MultiRom in recovery and do Inject curr. boot sector.
2. Secondary Android Roms
If you want to change the Rom, delete it and add new one. To update the Rom, follow these steps:
* Go to MultiRom -> List Roms and select the Rom you want to update.
* Select “Flash zip” and Flash the Rom’s zip File.
If child ROM goes reboot after installation, than try:
Boot twrp, multirom menu -> inject boot.img and choose /sdcard/multirom/roms/……/boot.img , after that it will boot.
see also:[Updated] Download Gapps for Marshmallow 6.0 and Cm13
Explanation of recovery menus:
Main menu
– Add Rom – Add Rom to Boot
– List Roms – List Installed Roms and Manage Them
– Inject boot.img File – When you Download something, for example a Kernel, which is Distributed as a Whole boot.img (eg. Qassam Kernel), you have to use this option on it, otherwise you would lose MultiRom.
– Inject curr. boot sector – Use this option if MultiRom does not show up on boot, for example after Kernel Installation.
– Settings – Well, SETTINGS!
Manage Rom
– Rename, Delete – No Need to Explain this I Think!
– Flash Zip (Only Android Roms) – Flash zip to the Rom, for example GAPPS
– Add/Replace boot.img – Replaces boot.img used by this Rom, this is more like a Developer Option.
– Re-Patch init – This is available only for Ubuntu. Use it when Ubuntu cannot find the root partition, i.e. after apt-get upgrade which changed the init script.