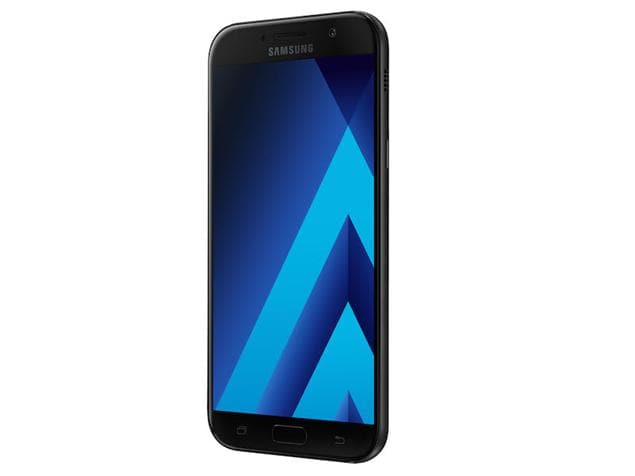
Are you one of those who wants to enjoy nougat on their tablet but havent received the update for same.So you are at right place.So in this article,we will guide you to explain the process of installing Android Nougat on Samsung Galaxy A7.
The Samsung Galaxy A7 sports a 16-megapixel rear camera with PDAF (phase detection autofocus), an f/1.9 aperture and dual-tone LED flash. The 16-megapixel front camera sports an 84-degree wide angle lens.It comes with Samsung Exynos 7 Octacore Processor.It comes with 2600 mAh battery capacity which can last for a day with mixed usage.You can expand its memory upto 256GB via a micro SD-Card.Today in this article we will guide you for installing android nougat in Samsung Galaxy A7.
Disclaimer:
Gammerson.com is not responsible for any damage happened to your device(s) while following this guide, Proceed at your own risk.
Requirements:
- This method is only for the Samsung Galaxy A7 .Donot try it on any other device.
- It is advisable to take a backup of your device before proceeding further.
- Ensure that your phone has at least 70-80% charged to prevent the accidental shutdown in-between the process.
- Enable USB debugging on your Samsung Galaxy A7.
Downloads:
- Download Samsung Galaxy A5 Nougat firmware for SM-A710F (Sammobile)
- You can check the Nougat update fo your country from here (SM-A710F) – Sammobile
- You can check the Nougat update fo your country from here (SM-A710FD) – Sammobile
Firmware information:
- Device Model – SM-A710F
- Device Name – Galaxy A7
- Country – Russia
- Software Version – Android 7.0 Nougat
- Build date – Sat, 22 Apr 2017 03:23:57 +0000
- Security Patch Level – 2017-04-01
- Product code – SER
- Firmware PDA – A710FXXU2CQDC
- Firmware CSC – A710FOXY2CQDC
Steps to Update to Android Nougat on Samsung Galaxy Tab A7
- Download odin from our download section on your computer; unzip the program and install it afterwards.
- Download the stock Android firmware file on your computer – use the SamMobile database in that respect.
- Run Odin on your computer and reboot your Galaxy TAB S2 into download mode.
- Connect your smartphone with your PC via USB cable.
- Check: the “added” message must be displayed on Odin and the ID:COM field must be either yellow or blue – if not, reinstall the phone’s USB drivers and repeat the steps.
- From Odin click on the AP option and select the Android firmware file. Don’t check the Re Partition and the Auto Reboot options.
- Click on Start and wait while the update operation is automatically completed; when done the “pass” message will be showed and the ID:COM field will be turned green.
- Remove the USB cord and reboot your Galaxy TAB S2..
- Enjoy.
If still any queries left in your mind,feel free to ask via comment section.
