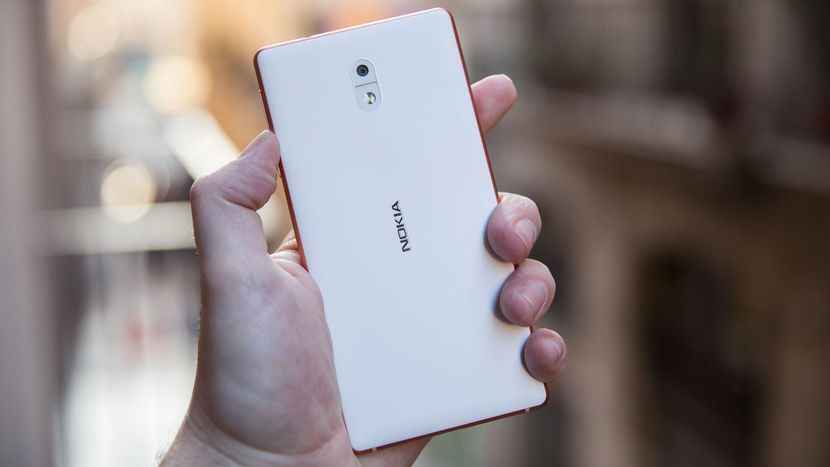
Many users want to root their device for getting more from it.There are many advantages of rooting your device as it allows you to install a custom ROM on your device or you can block ads of any apps or you can keep latest android version and so on.

The Nokia 3 sports a 8-megaapixel rear camera with PDAF (phase detection autofocus), an f/2.0 aperture and dual-tone LED flash. The 8-megapixel front camera sports an 84-degree wide angle lens.It comes with Mediatek processor.It comes with 2650 mAh battery capacity which can last for a day with mixed usage.You can expand its memory upto 64GB via a micro SD-Card.So in this article,we will guide you to explain the process rooting your Nokia 3 & Install TWRP in it.
Disclaimer:
Gammerson.com is not responsible for any damage happened to your device(s) while following this guide, Proceed at your own risk.
Requirements:
- This method is only for the Nokia 3.Donot try it on any other device.
- It is advisable to take a backup of your device before proceeding further.
- Ensure that your phone has at least 70-80% charged to prevent the accidental shutdown in-between the process.
Downloads:
Links Coming Soon
Steps to install TWRP in Nokia 3
- First of all download and install the ADB and fastboot drivers in your pc or laptop.
- Now go to your mobile setting and enable USB Debugging mode.
- Now connect your mobile to PC/Lappy.
- Go to installed folder of ADB and Fastboot and open CMD at that folder by pressing and holding Shift and key and right click in ADB and Fastboot folder.
- Place the recovery image( which you have downloaded) in the ADB and fastboot installed folder
- Now type the following command in CMD to enter into fastboot mode in your device.
-
adb reboot bootloader
- You are in the fastboot mode now type the following command in CMD.
fastboot flash recovery recovery.img
- After that type this command
fastboot boot recovery.img
- Now done your mobile is in TWRP recovery mode now. .. for root follow the below steps without leaving TWRP.
How to Root Nokia 3 on Android 7.0 Nougat
-
- Download and transfer the SuperSU zip file from the download link above to your device’s storage.
- Boot your device into TWRP recovery.
- Tap on Install and select the SuperSU zip file that you transferred to your device in Step1
- After selecting the .zip file, do Swipe to Confirm Flash on the bottom of screen to begin the flashing process.
- Once SuperSU is flashed.
- Reboot your device.
- Done
You have successfully rooted your device and installed TWRP in it.
If still any queries left in your mind,feel free to ask via comment section.
