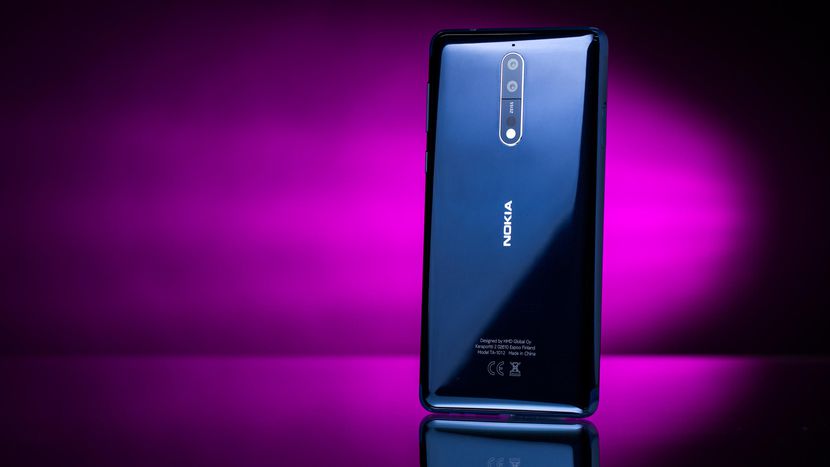
You can now download Nokia 8 USB drivers and install them on your computer – be it Windows or Mac – through this detailed guide. Nokia 8 is HMD Global’s first high-end smartphone. Coming from three entry level budget phones, Nokia is finally competing in the big leagues now. With a unique design and practicality in mind, Nokia 8 is looking quite promising. If you have purchased the phone for yourself or are looking to receive yours quite soon, this is the guide to start from. Before you plug in your Nokia 8, it is essential that you have proper USB drivers for it so that your computer can properly recognize it. We have USB drivers linked below for the Nokia 8 that you can download and install on Windows and Mac. So let’s get started to Download Nokia 8 USB Drivers For Windows and Mac.
Also Read: Google automatically delete your android device data if you are inactive for two months !!

Each manufacturer comes up with its own proprietary hardware and with that, it needs proper software to run it. Once you have these USB drivers installed, you would be able to transfer your data without any hiccups and also run utilities for the Nokia 8 on your computer such as third-party backup software or flashing programs. Read ahead to get the latest USB drivers for your Nokia 8.
Download Nokia 8 USB Drivers For Windows and Mac
-
Download Nokia 8 USB Drivers for Windows 7, 8, 8.1, 10, 10 Pro
The official Nokia 8 USB drivers are always bundled with the device itself. Once you connect your phone, an auto-run will start or the phone will mount a CD-ROM slot to give you access to these drivers. Android MTP drivers are also included with every phone running Android 7.0 Nougat software and are recognizable by all versions of Windows. However, at times the installation fails and you need to install the drivers manually or using another app.
If you phone is not easily recognized by the computer and nothing happens after connecting your phone, that is when you need to install Nokia 8 USB drivers manually. For transferring media content, photos and other files from your phone, you need to have a microUSB cable (preferably the one you got in the box) for the phone.
Follow these simple steps to connect your phone with Windows PC:
Step 1 – Download Nokia USB drivers for the Nokia 8 and install them on your computer by running the “Setup.exe”
Step 2 – Connect your Nokia 8 with the computer using a microUSB cable.
Step 3 – Now wait for the computer to recognize the device and install / setup necessary files and drivers.
Step 4 – You will notice several files being installed. Once completed, open My Computer or This PC to find your phone.
Step 5 – Double-click on your phone and now you are ready to browse through your Nokia 8 on the Windows PC.
Also Read: Download Lineage os 15 Oreo 8.0 Oneplus 2
2. Download Nokia 8 USB Drivers for Mac
Connecting Nokia 8’s internal memory and SD card storage is relatively easier on Mac OS X. The entire process on Mac is as easy as plug and play for almost all Android devices. If you have been a Google Pixel or Nexus user on a Mac previously, then setting up the Nokia 8 should be no different for you.
Android File Transfer is a free utility by Google to connect your Android phones (and tablets) to transfer data between the phone and the computer. Android File Transfer misses out on a number of important features and feels very outdated, but it gets the job done and is compatible with almost every Android device out there.
A few users did report some issues with Android File Transfer and some of the newly launched Android phones (i.e. Google Pixel). That has been taken care of with another free alternative on Mac called as HandShaker. We will talk about that in a bit below.
Make sure you have a Nokia 8 and a microUSB cable (preferably, the one that came with the phone). Then follow these quick steps:
Step 1 – Download Android File Transfer and install it on your Mac computer.
Step 2 – Connect your Nokia 8 with the computer using a microUSB cable.
Step 3 – Now wait for the computer to recognize the device. It may take a few seconds more if this is your first time connecting a new Android device.
Step 4 – Tap ‘Allow‘ on your phone screen to allow the phone to communicate with the computer.
Step 5 – Android File Transfer window will automatically open up with your internal phone memory directories.
![[Guide] How to root Nokia X2 Dual sim Easily Step by step](https://i1.wp.com/www.gammerson.com/wp-content/uploads/2015/08/How-to-root-Nokia-x2-without-pc-1.jpg?resize=350%2C200&ssl=1)

